Happy Spring! I am way too excited to get my garden started. How about you? This year, I’ll show you how to use Jiffy Peat Pellets to start seeds for your garden.
This post contains affiliate links which means I may receive a commission if you click a link and purchase something that I have recommended. As an Amazon Associate I earn from qualifying purchases. See Affiliate Disclosure
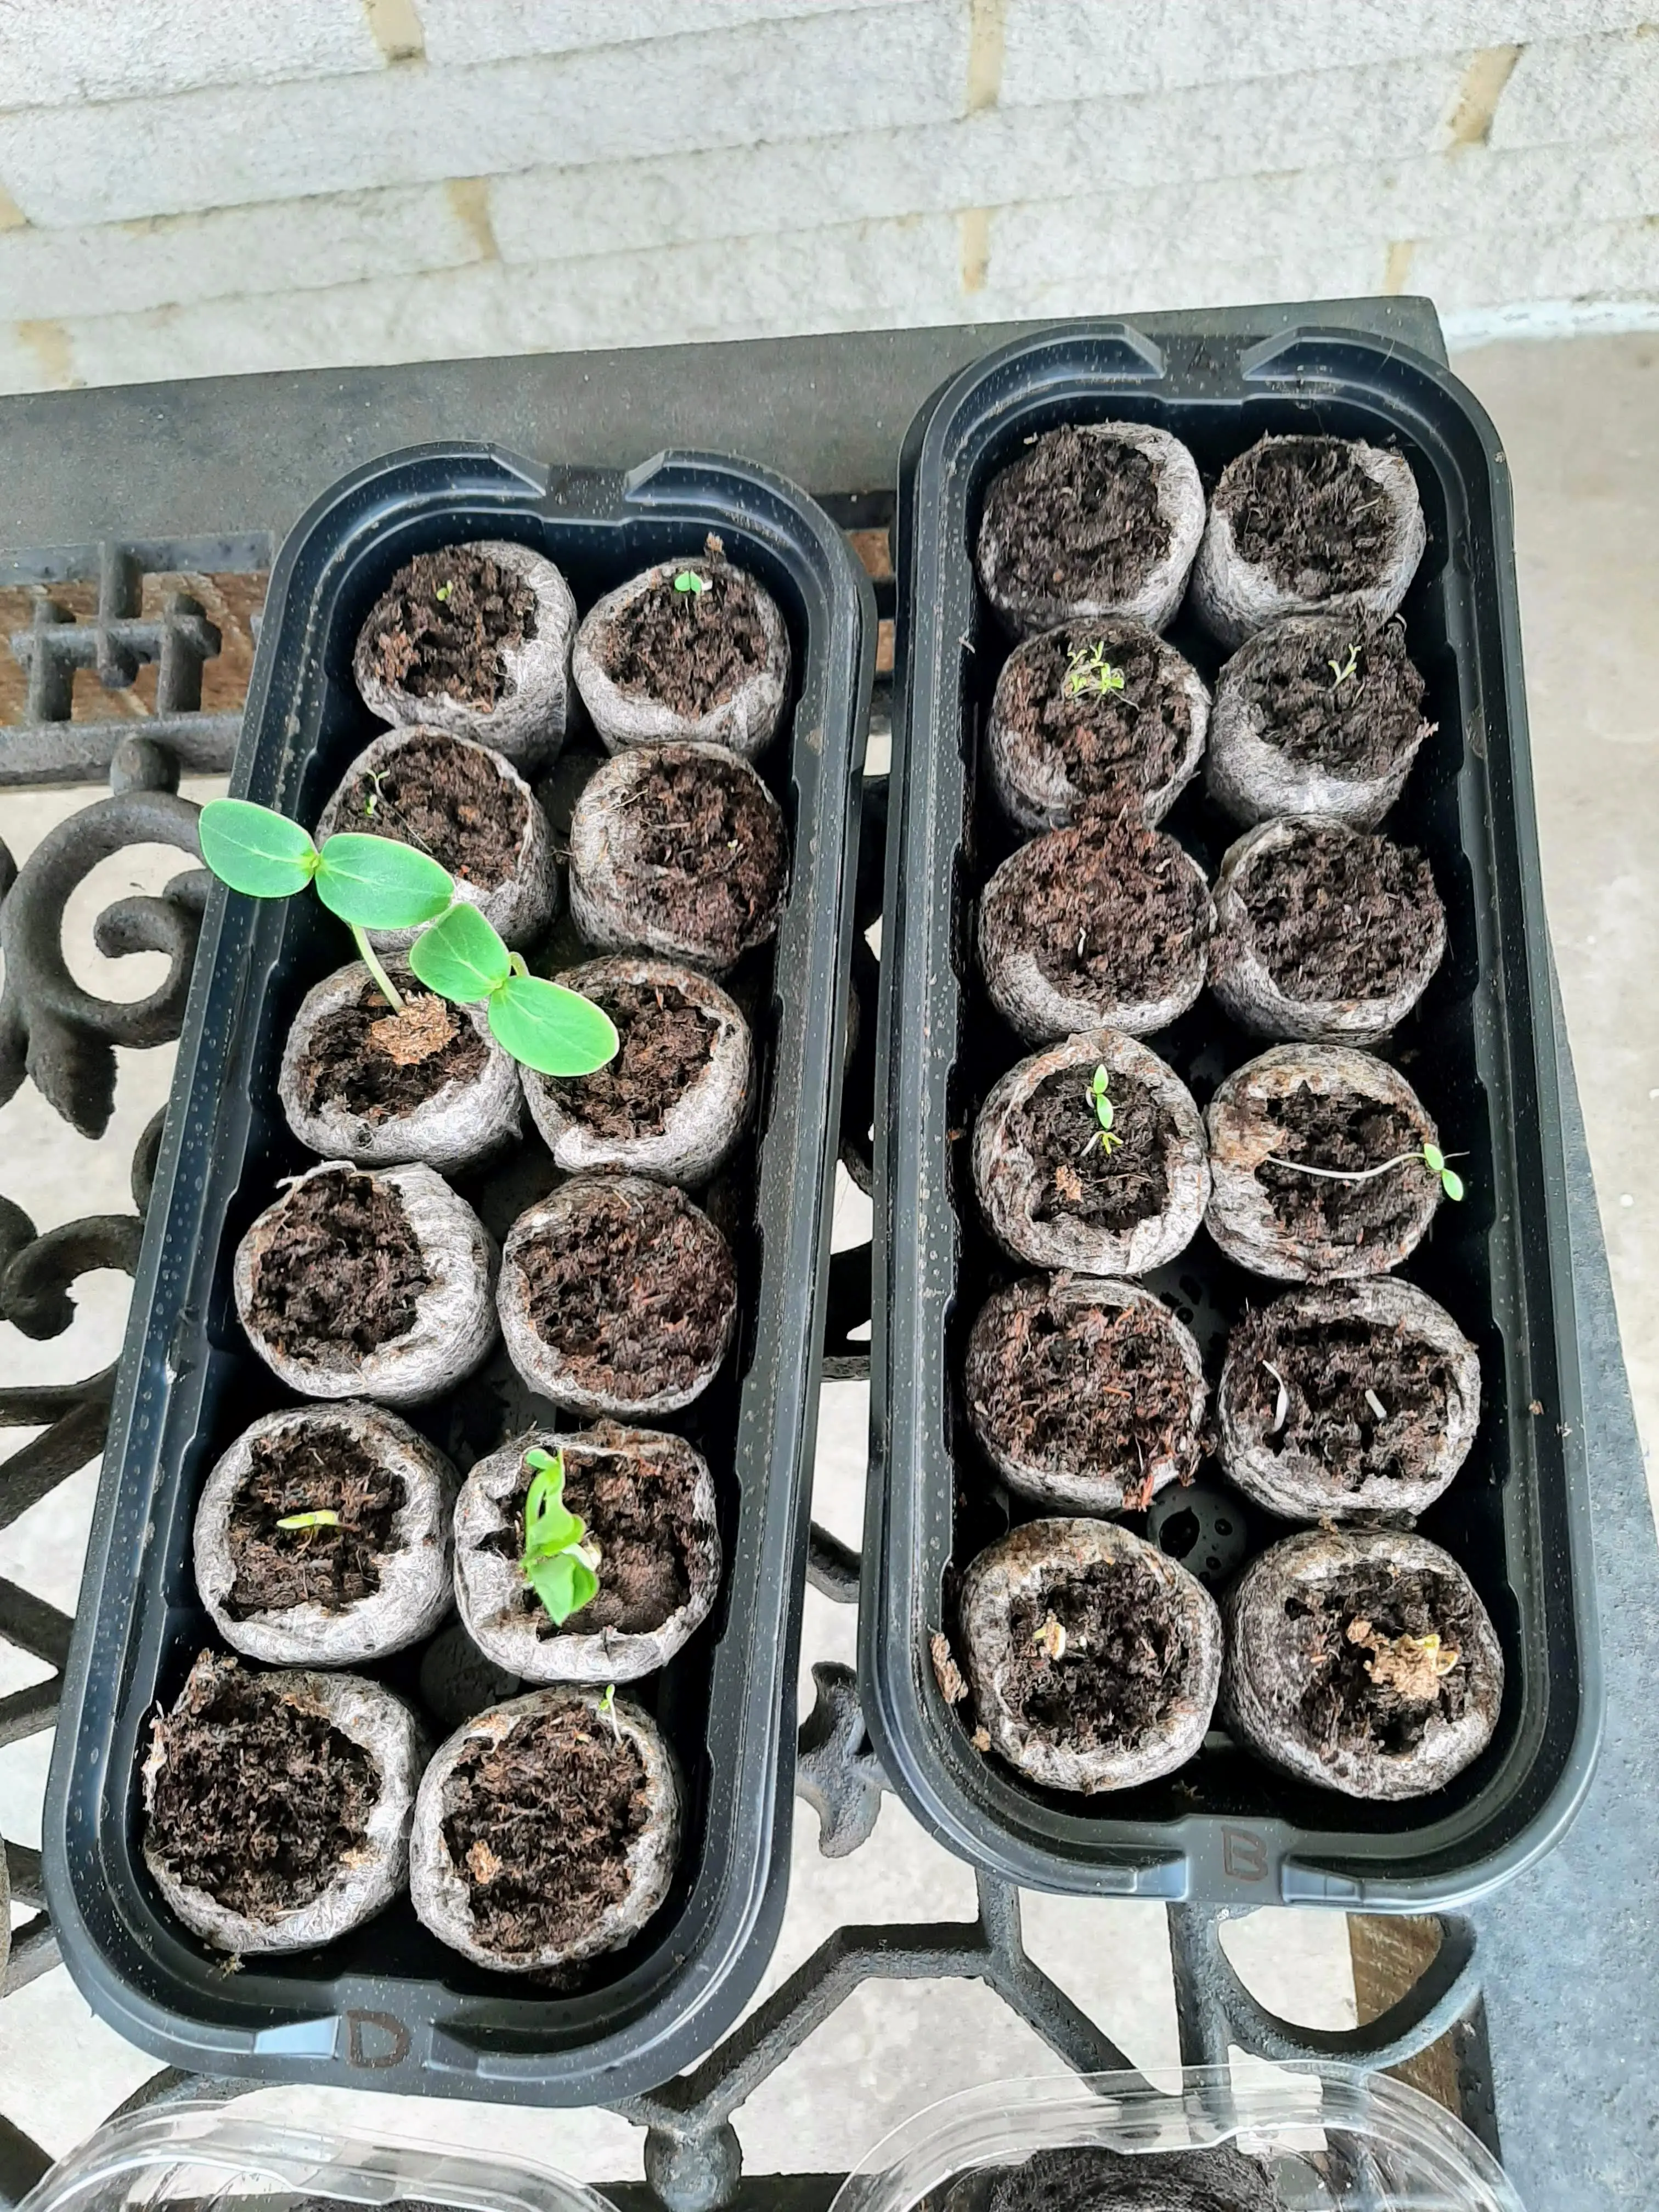
I bought this cute 2 pack windowsill greenhouse:

You can find bigger sizes and even just the peat pellets. My garden is small, about 4’x8′. 4’x4′ of that is just for tomatoes and some herbs. My dad is going to add another 4’x4′ square for growing beans.
I love shopping at The Gardening World for seeds. Their prices are amazing for the number of seeds you get and I’ve always had great results with the seeds germinating. You can find a lot of flower seeds there, too. This year, I bought catnip, carrots, sweet peppers, spinach, and English lavender.
My sister saved seeds from her garden last year and brought me cucumbers, chamomile, parsley, basil, and snap peas. I also had some older seeds of parsley, dill, onions, cantaloupe, and chamomile, so we will see if those will grow.
Some seeds can be directly sown and not started in peat pellets. These include carrots, onions, spinach, lettuce, and beets.
Seed Preparation
Most seeds can go right in the prepared Jiffy peat pellets, but a few have to be prepped ahead of time. English lavender needs to be kept in the fridge for 30 days prior to planting. Optionally, snap pea seeds can be soaked overnight, but it’s not necessary.
Most veggie seeds can be started indoors about 6 weeks prior to the last frost date. In this area, the last frost is April 21st. I thought I was getting a late start, but we’re right on time for getting the garden started.
Find yours at Almanac Frost Dates.
The Gardening World provides growing instructions for all seeds along with the receipt. You can easily find growing instructions for all your seeds online, too.
How to Use Jiffy Peat Pellets
Step 1: Warm Water
Pour warm water in the tray. The peat pellets will absorb the water. They will expand to about 1 inch. If you have extra water left over, you can dump it out. I like to add the water a small amount at a time, so I don’t have to worry about too much excess soil.

Step 2: Sow the Seeds
Pull back the netting at the top of the peat pellets. Plant seeds by placing them just below the surface of the peat and then lightly covering them with the soil.
Step 3: Cover
Place the lid on the tray and place the tray in a warm spot out of direct sunlight. Check on it every couple hours to see if your seeds have sprouted. Just kidding! It might take a couple weeks until your seeds germinate and begin to sprout.
Step 4: What to Do When Seeds Sprout
Once seeds have started to sprout, adjust the lid so that it is propped open slightly. You can take the lid off once all seeds are sprouted and growing. Keep the pellets watered using a spray bottle so as not to over water the growing sprouts.

Step 5: Harden Off and Plant
To harden off your sprouts, gradually expose the plants to direct sunlight a few hours a day at a time, increasing the exposure each day. Keep the sprouts and peat pellets watered and transplant them to your garden.
While the peat pellets cannot be reused, the container can be! Don’t forget to save it for next year. I hope you enjoyed this tutorial about how to use Jiffy peat pellets. Let me know if you have any questions.
Comment below with what you’re growing in your garden this year!
